


Separate the setting, profile and back
Diamond Stud Earring Settings Explained: Prong, Bezel, Basket and Martini
Learn which terms describe how a diamond is held, which describe the side profile, and what to compare for edge coverage, fit, cleaning and everyday wear.
Diamond stud descriptions often place several construction terms in one line: four-prong basket, three-prong martini, bezel set, screw back. They do not all answer the same question. Some describe how the diamond is secured, some describe the metal profile behind it, and one describes how the post is fastened at the back of the ear.
This guide focuses narrowly on the front setting and profile. For the fastening behind the lobe, read Laxmi Jewellers’ separate comparison of screw-back and push-back diamond earrings. If pair totals and individual-stone weights are the confusing part, the guide to diamond earring carat weight per pair addresses that distinct question.
Ask three separate questions
Setting, profile and back are different parts
The word “setting” is used broadly in jewellery. It can mean the complete metal mounting or the specific method that holds a gemstone. When comparing studs, it helps to divide the earring into three functional layers.
Prongs bend over selected points of the diamond’s edge. A bezel surrounds all or part of the edge with a metal rim. This layer directly concerns retention and girdle coverage.
Basket, martini, crown and similar names describe how the head looks from the side and how its supports connect. The exact geometry varies by maker, so inspect the piece rather than relying on the label.
The post passes through the piercing; the back secures it behind the lobe. Push, screw, locking and guardian-style backs operate independently from the front head.
A stud can therefore be a four-prong basket with a push back, a three-prong martini with a screw back, or a bezel head with another approved fastening. “Basket versus martini” is not the same comparison as “prong versus bezel,” and “screw versus push” does not tell you how the stone’s girdle is protected.
How the diamond is retained
Prong versus bezel diamond stud settings
Prong settings
Prongs are narrow metal supports that rise beside the diamond and bend over its edge. Round studs commonly use three, four or six prongs. The number alone does not determine quality. Placement, metal dimensions, symmetry, finishing and the fit to the individual stone all matter.
Prongs leave more of the diamond’s outline visible and can create a fine, open appearance. They also leave more of the girdle exposed than a full bezel. GIA’s setting guidance notes the general trade-off: prongs allow more of a stone to be seen but offer less edge protection than a bezel. That does not make prongs unsuitable for daily wear; it means their condition and the wearer’s habits deserve attention.
Three-prong heads can create a triangular rhythm around a round stone. Four prongs create a square or compass-like frame depending on their position. Six prongs add more contact points and a more enclosed outline. Shape-specific studs may require carefully placed prongs or V-prongs around corners and tips. The correct design is the one engineered for the stone rather than selected by number alone.
Bezel settings
A full bezel uses a metal rim around the stone’s perimeter; a partial bezel covers selected sections. Greater edge coverage can help protect the girdle from direct knocks and creates a smooth visual boundary. It also makes more metal visible from the front and can slightly change the apparent outline of the diamond.
A bezel must still be well fitted and finished. Check that the rim is even, meets the stone consistently and has no rough sections against skin or clothing. A “bezel look” may sometimes be achieved with decorative metal that does not provide identical coverage all the way around, so inspect the actual construction.
| Feature | Prong head | Bezel head |
|---|---|---|
| Diamond outline | More of the edge is normally visible between prongs. | A metal rim defines and covers more of the perimeter. |
| Girdle coverage | Localised at the prong contact points; other sections remain exposed. | Continuous on a full bezel and selective on a partial bezel. |
| Visual character | Open, light metal presence; prong number affects the face-up rhythm. | Smooth, graphic frame with a stronger visible metal outline. |
| Maintenance focus | Check prong tips, alignment and movement. | Check rim continuity, dents, gaps and stone movement. |
| Cleaning access | Open spaces can provide access, though narrow areas still collect residue. | The enclosed edge may require more attention around the rim and beneath the head. |
Neither style creates a diamond’s brilliance. Light performance depends primarily on the diamond’s cut, proportions and optical condition. A clean, well-cut diamond in either setting can look lively; oil, cosmetics or residue on its surfaces can reduce apparent brightness.
The side structure behind the stone
Basket versus martini profiles
A basket setting is a type of prong structure with horizontal supports connecting the prongs beneath or around the gemstone. Viewed from the side, those rails form a small basket. The supports can stabilise the prongs and create a relatively broad base where the head meets the post.
A martini profile usually tapers from the diamond towards the post in a cone or cup shape, resembling a martini glass. It is commonly made with three prongs, but the name describes the silhouette more than a universal engineering standard. Some martini heads are very deep and pointed; others have a softer taper or extra support.
These labels can overlap with prong terminology. A basket is normally prong set, and a martini head is normally prong set. The useful comparison is not “basket instead of prongs”; it is “which prong structure, base width and depth suit this stone and this ear?”
Basket profile
The broader framework may distribute contact over a wider area of the lobe and can feel visually substantial from the side. Horizontal rails create additional surfaces where lotion, hair products and skin oils can collect, so cleaning access should be considered. Basket heads can be low or high; the name alone does not specify projection.
Martini profile
The tapered head can present a minimal face-up metal outline and may allow the diamond to sit closer to the piercing when geometry and anatomy suit each other. A narrow point can also press into an enlarged or sensitive piercing on some ears. It should not be promised as a universal cure for drooping. Stone size, head depth, post position, lobe firmness, piercing placement and back size all influence how a stud sits.
Try each pair rather than judging a loose earring on a tray. Look straight ahead, turn the head and inspect from the side. The post should enter comfortably, the head should not dig into the piercing, and the back should secure the stud without pinching the lobe.
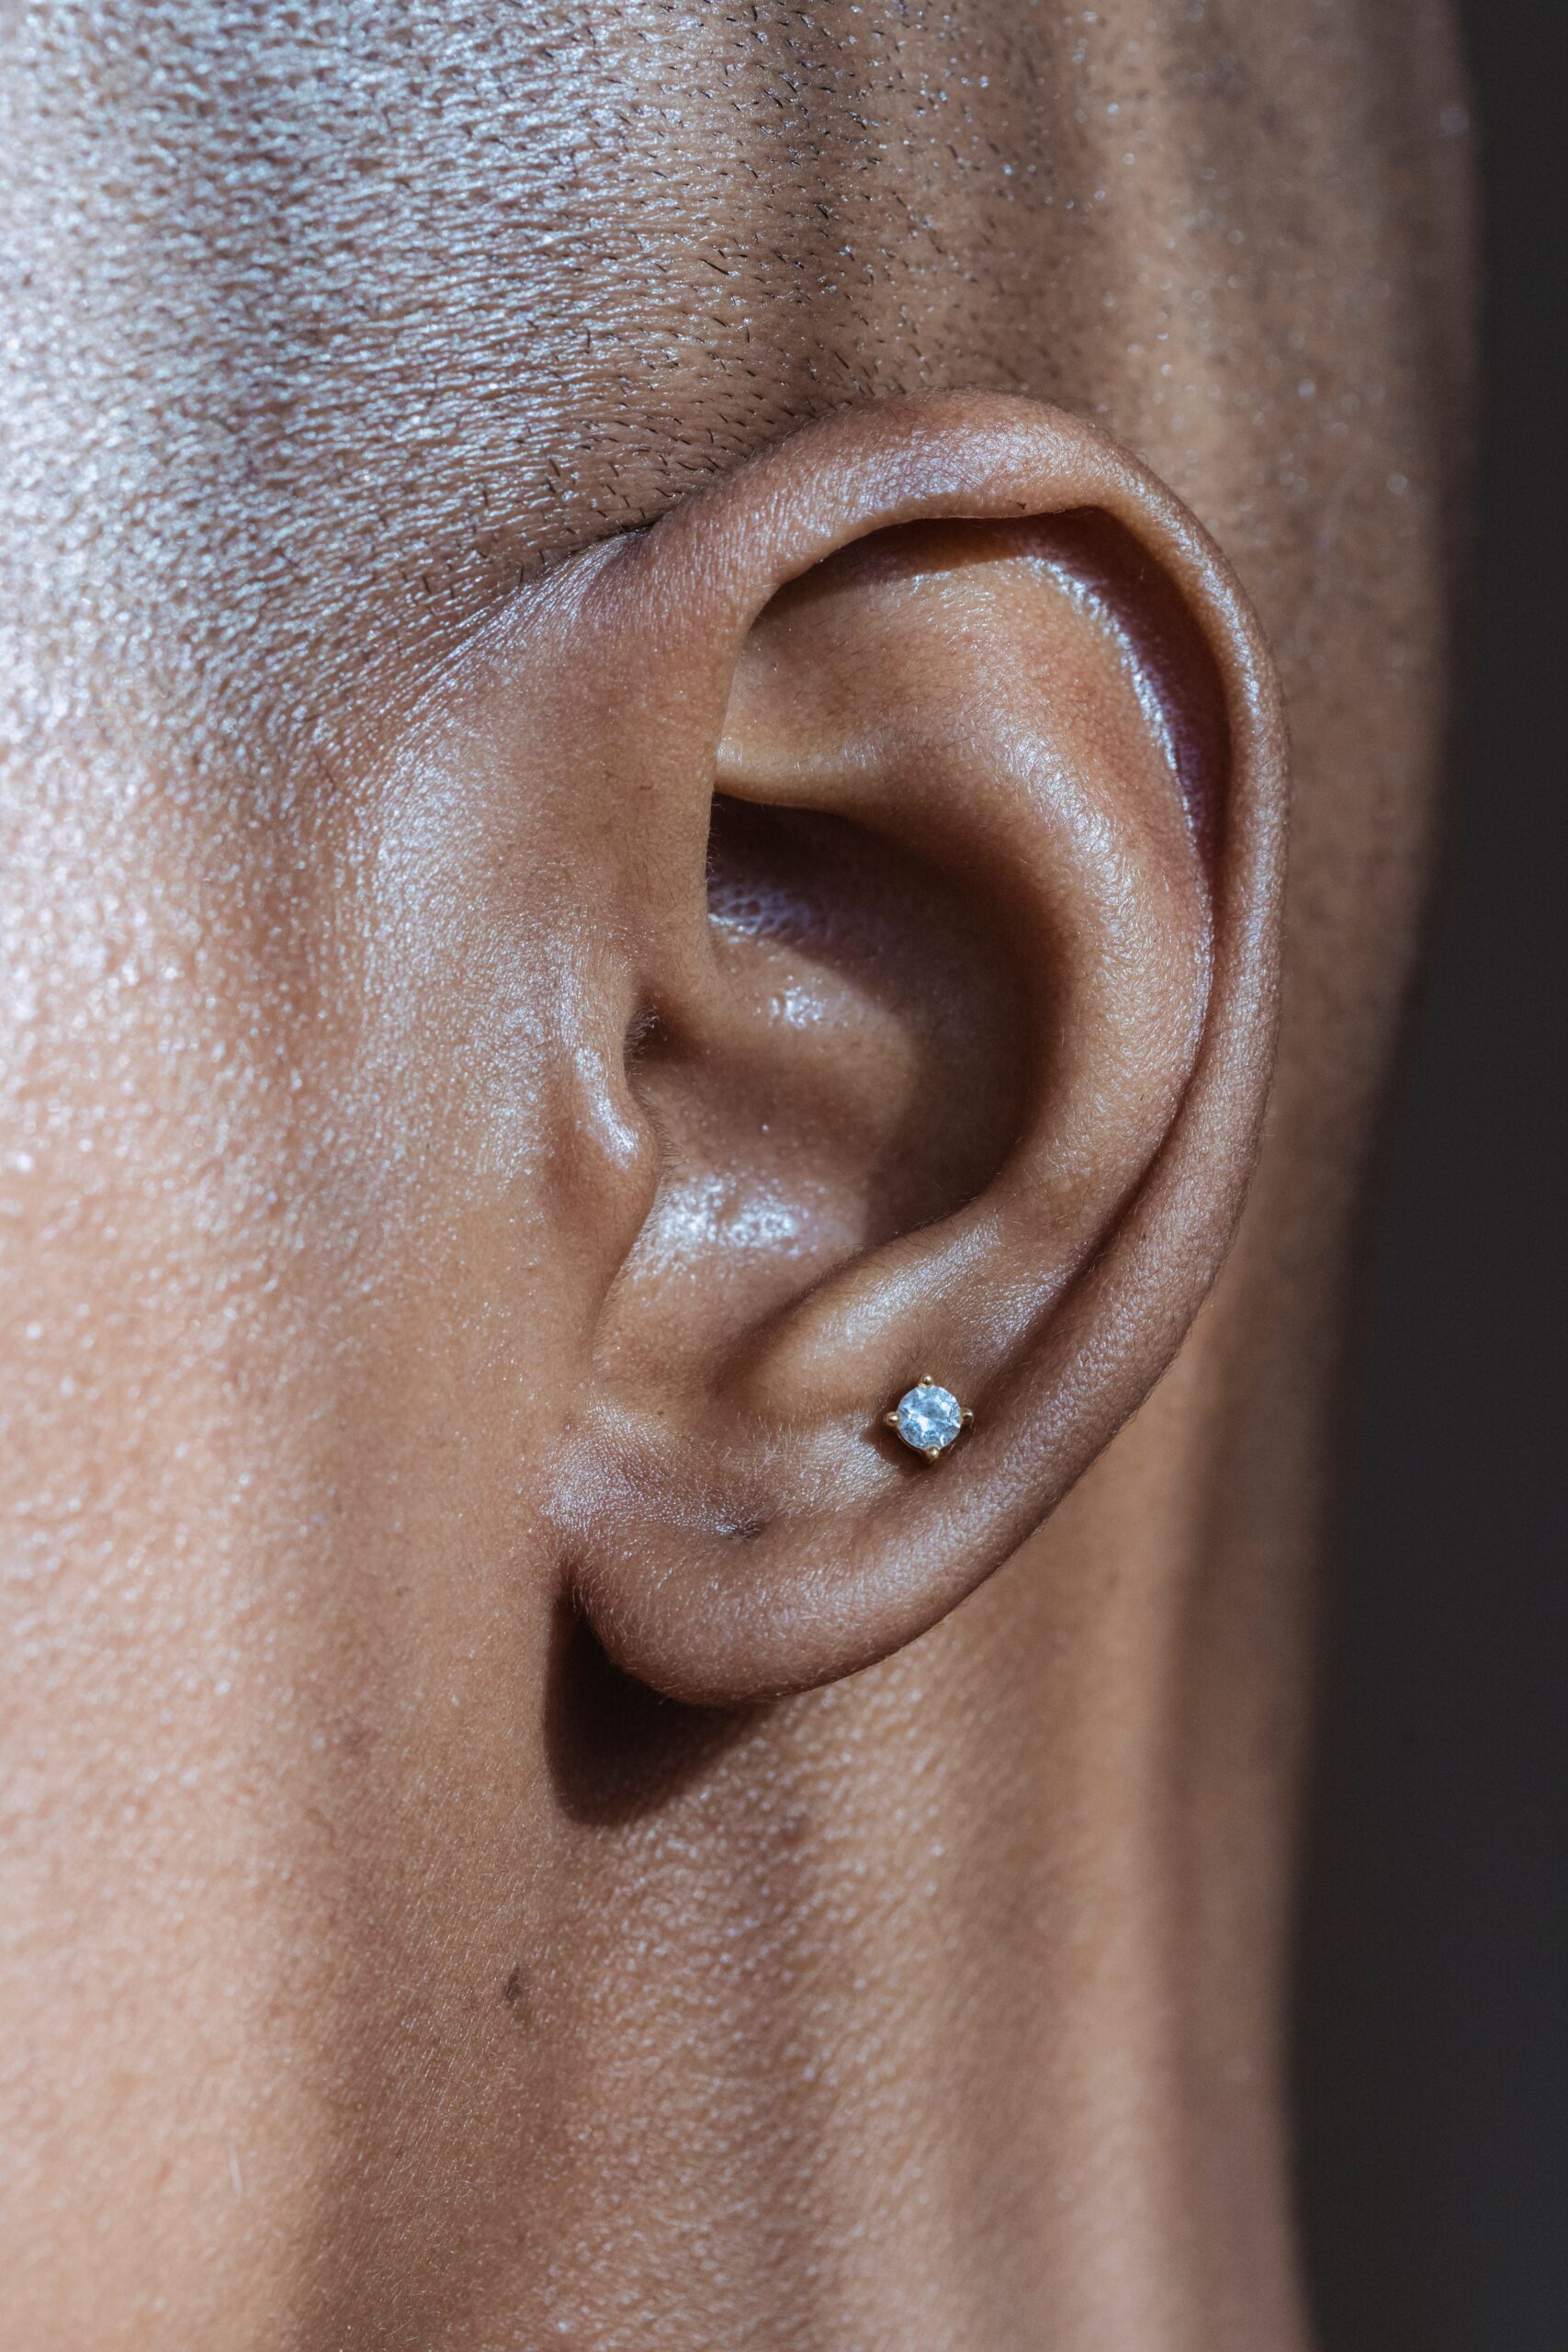
Judge the complete on-ear system
How head profile and back work together
The front head, post and back form one mechanical system even though their names describe separate parts. If a comparatively large stone sits far forward from the lobe, leverage can encourage the face to tilt. A suitable back with an appropriate support diameter may help the earring sit more steadily, but comfort and fit remain individual.
Post placement also matters. A post attached near the centre of the head behaves differently from one placed higher or lower. The location of the piercing and the shape of the lobe can make the same stud look level on one person and angled on another.
GIA’s stud guidance recommends considering a backing that offers adequate support when larger earrings droop. That is a fitting principle, not a reason to over-tighten the back. The lobe should not be compressed or painful, and the fastening should operate as its maker intends.
Low profile is not one measurement
Ask for the total distance from the diamond’s face to the base of the head, the width of the contact area against the lobe and the position of the post. A deep diamond can require a deeper head even when the design is marketed as low profile. Compare the actual millimetre dimensions of the pair rather than relying only on “basket” or “martini.”
Match the pair, not only the stones
The two heads should mirror each other in prong placement, height and finishing. Posts should be aligned consistently. The diamonds should also be matched for dimensions, outline and overall appearance; a pair can share a total carat weight yet have different individual measurements.
Six useful checks
A practical diamond stud setting checklist
Use the same checks on both earrings. A close-up photograph can show style, but only an in-hand and on-ear review reveals alignment, finishing and comfort.
Identify the securing method
Count the prongs or confirm whether the bezel is full or partial. Look for even contact and a symmetrical face-up frame.
View the side profile
Locate basket rails, taper, base width and total head depth. Confirm how the head joins the post and whether any point presses into the lobe.
Check edge coverage
Notice which parts of the diamond’s girdle are exposed. Consider hair, headwear, phone use and daily activities without assuming any setting is impact-proof.
Test the back separately
Operate the push, screw or locking mechanism several times. Confirm secure engagement, comfortable post length and sufficient support without pinching.
Compare both earrings
Check matching height, prong orientation, post alignment, stone dimensions and visual balance. Small construction differences can become obvious when worn as a pair.
Ask about service
Request suitable cleaning instructions and an inspection schedule based on the metal, setting and frequency of wear. Keep purchase and grading documents together.
Preserve the intended fit
Cleaning, inspection and everyday handling
Studs sit close to skin, hair and cosmetics, so residue can collect beneath the diamond and around rails or bezels. Follow the jeweller’s cleaning guidance for the specific metal and any treatments. A soft brush and suitable solution may be recommended for many pieces, but do not assume every stone, coating or finish tolerates the same method. Ultrasonic and steam cleaning are not appropriate for every item.
Before wearing a prong-set pair, check that each diamond is level and does not click or move when handled gently. Look for prongs that appear lifted, flattened, thin or misaligned. On a bezel, inspect the rim for gaps, dents or sections pulling away from the stone. Stop wearing an earring if the diamond moves or the setting is visibly damaged.
GIA’s guidance on diamond chipping explains that even diamond can chip at vulnerable areas when struck. Settings reduce certain exposures but cannot eliminate all risk. Remove fine earrings for activities involving impact, chemicals or equipment that could catch the jewellery. Store each stud so the post, diamond and metal do not scratch the other earring.
Backs also need maintenance. Threads should engage smoothly without cross-threading; push backs should retain appropriate tension; locking mechanisms should click or release as designed. Replace worn components with parts that match the post rather than improvising a tighter fit.
Common construction questions
Diamond stud setting FAQs
Is a basket setting always four prongs?
No. A basket describes horizontal supports connecting the head, not a universal prong count. Three-, four-, six-prong and other engineered variations exist. Inspect the exact earring’s structure and how it fits its diamond.
Is a martini setting more secure than a basket?
The profile name alone cannot establish security. Retention depends on prong or bezel design, metal dimensions, craftsmanship, fit to the stone, condition and wear. Compare the individual construction and maintenance requirements.
Do bezel-set studs sparkle less?
A bezel covers more of the edge and changes the visible metal outline, but sparkle is driven primarily by the diamond’s cut, proportions, cleanliness and viewing conditions. Do not use the setting label as a substitute for assessing the diamond itself.
Will a martini profile stop larger studs from drooping?
Not necessarily. Head depth, post placement, stone weight, piercing position, lobe firmness and the supporting back all affect orientation. Try the actual pair and ask whether a wider supportive back is appropriate.
Which setting is best for everyday wear?
There is no single answer for every wearer. A bezel offers more edge coverage; prongs reveal more of the outline. Lifestyle, diamond shape, desired metal presence, comfort, maintenance habits and professional fit should guide the choice.
Authoritative references
Construction and care points were checked against GIA’s guides to choosing diamond stud earrings, prong, bezel and basket setting structures, and protecting diamonds from chipping. The ring-setting examples explain general stone-retention principles; exact earring engineering remains product-specific.
Compare the complete pair
See the setting from the front, side and on the ear
Review diamond size, head construction, post and back together. Browse Laxmi Jewellers’ stud earring collection, then confirm the exact setting details and fit for the pair you are considering.
