

Bespoke jewellery guide · Laxmi Jewellers Dubai
Jewellery CAD Approval Checklist: What to Confirm Before Sign-Off
Review the exact revision, dimensions, views, stone plan, setting height and finishing notes before a digital design moves towards manufacture.
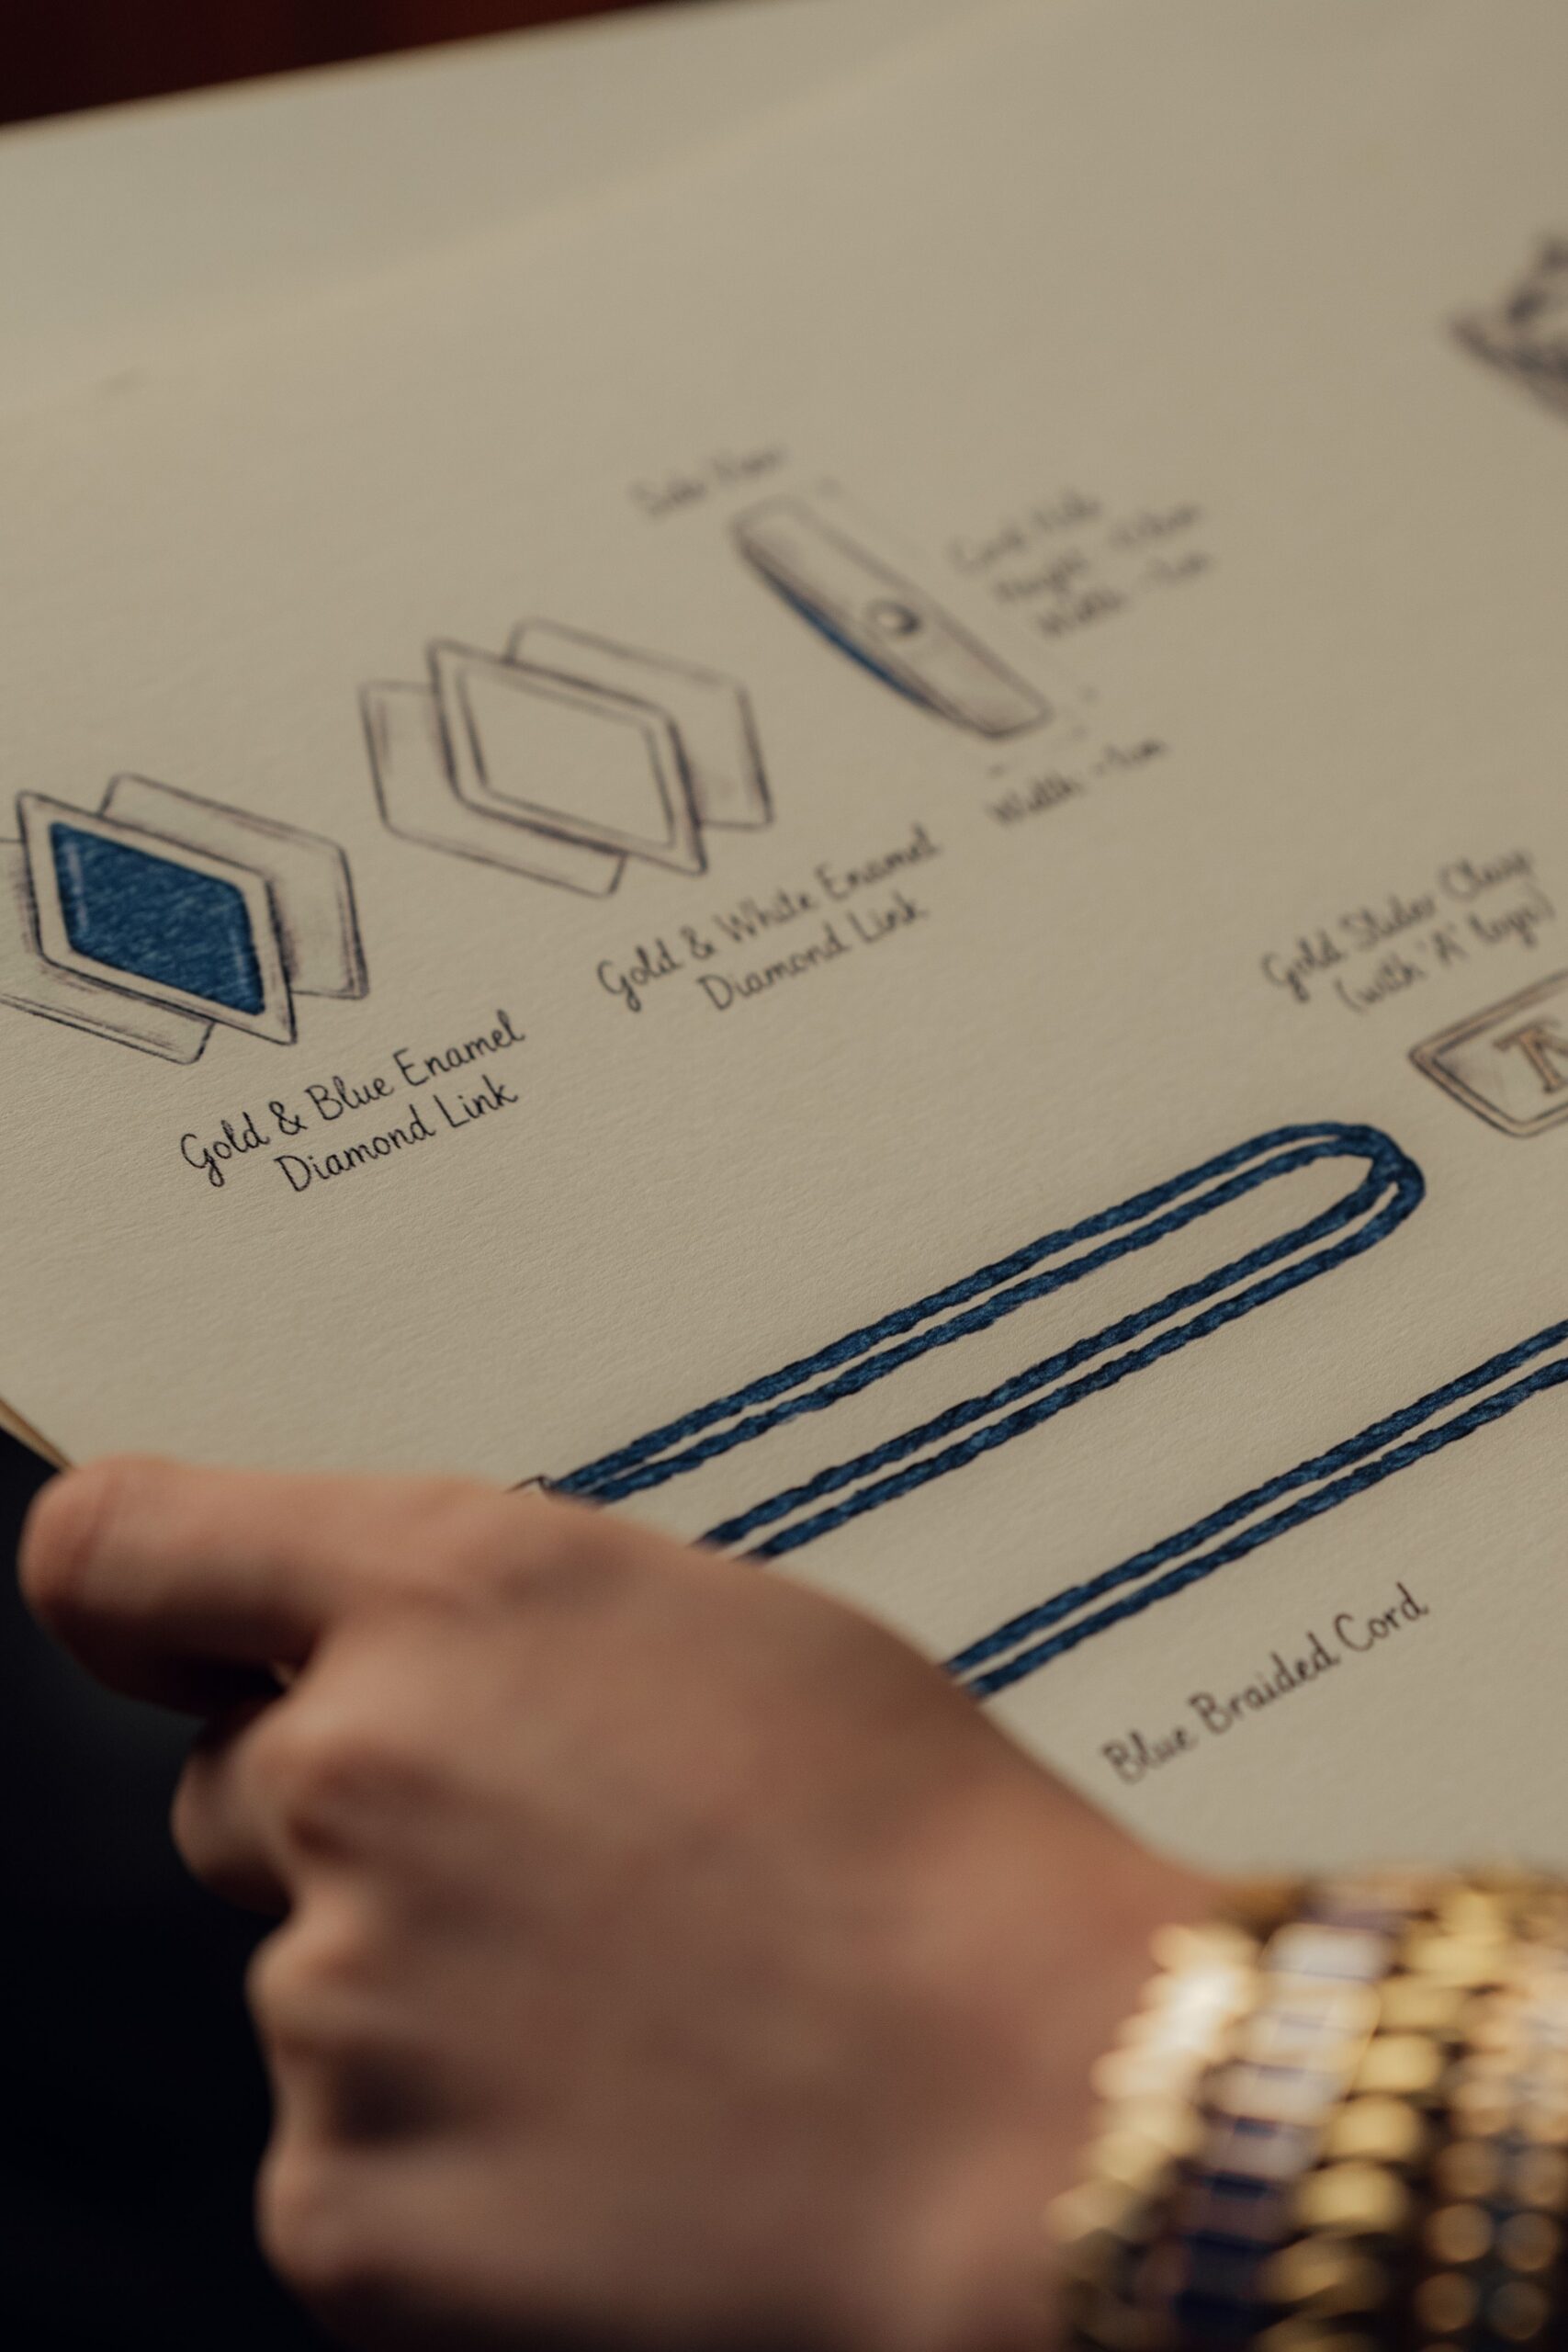
A jewellery CAD approval should confirm a buildable specification, not simply that one attractive image looks right. Check the file or revision name, written dimensions, stone plan, profiles, clearances and finishing notes together. A photorealistic render can communicate an idea clearly, but scale, lighting and perspective can still make small details look different from the finished piece.
Ask for enough views to understand the complete object, then compare every important feature with labelled measurements and the agreed brief. Record questions and revisions in writing. Sign off only when the final version number, materials, stone specifications, setting construction, fit and surface details are unambiguous—and when you understand which aspects are visual simulations rather than promises about the exact finished appearance.
Start with the exact revision and a complete set of views
Before discussing details, identify what is being reviewed. Record the project name, revision number or date and the images or model views included in that revision. If comments have been exchanged through messages, mark which requests are already incorporated and which remain open. This prevents an earlier image from being mistaken for the final design.
One face-up view rarely explains the whole piece. A ring normally needs top, side and end or three-quarter views; a pendant may need front, side and back views; earrings may also require a fastening view and a clear indication of left/right orientation. Ask for a section or close view wherever one surface hides another. GIA’s CAD/CAM curriculum treats proportion, element relationships and manufacturability as core parts of digital jewellery design, which is why an approval set should be read as connected views rather than isolated pictures.
Views to request
Face-up, profile, underside or back, and a three-quarter view usually answer different questions. Add a close view where a gallery, hinge, clasp, bail, prong or hidden joint needs separate confirmation.
Revision details to retain
Keep the dated approval image or PDF, model identifier, material and stone list, written measurements and the final response that authorises production.
Confirm dimensions, thickness and scale
On-screen jewellery can be enlarged many times, so delicate details may appear stronger and narrow gaps may look more generous than they are. Written measurements anchor the design to physical scale. Confirm the overall length and width, the height above the finger or body, band or link dimensions, metal thickness in important areas and the size of openings or clearances that affect wear or assembly.
For rings, verify the intended size and whether the quoted width changes around the shank. Laxmi’s engagement-ring size guide explains why fit depends on more than the printed size alone. A broad band, stacked rings or a substantial top can feel different from a slim sample. If an engagement ring will sit beside a wedding band, compare their profiles rather than assuming they meet neatly; the guide to engagement-ring and wedding-band fit describes the practical relationship between the two pieces.
| Item to confirm | What to record | Why the view alone is insufficient |
|---|---|---|
| Overall envelope | Maximum length, width and height. | Zoom and perspective can disguise actual presence and projection. |
| Metal sections | Key widths and thicknesses at named locations. | Reflections can make edges look heavier or finer than specified. |
| Openings and gaps | Clearance below stones, between elements and around moving parts. | A single angle may hide interference or an impractical cleaning gap. |
| Wearable fit | Ring size, inner profile, chain length, post length or bail opening. | A render does not show how the object relates to the wearer or another piece. |
| Reference stone | Actual dimensions, not only a nominal carat weight. | Two stones with the same stated weight may have different outlines and depths. |
Review the stone plan and setting construction
Count the centre and accent stones, then match each group to a written size, shape, quantity and intended setting. If the design uses graduated accents, identify the sequence. If a supplied centre stone is being used, its measured outline and depth should drive the model rather than a generic placeholder. Ask whether any image uses illustrative stones or colours that are not the final selection.
The setting should be understandable from more than the top. Use Laxmi’s engagement-ring anatomy guide to distinguish the head, gallery, shoulders and shank, then confirm how those parts connect. Check prong number and orientation, bezel coverage, seat position, gallery height and the metal left around small stones. Laxmi’s pavé and channel setting comparison explains why two visually similar rows can require different metal structures and maintenance considerations.
Do not infer stone security from a polished render. GIA’s Quality Assurance Benchmarks provide practical workmanship references for jewellery manufacture, but the exact design still needs an experienced production review. Ask the workshop to identify any feature that may need adjustment after stones are inspected or during setting, and how a material change would be communicated before work continues.
Check height, balance, movement and everyday clearances
A design can look balanced in a centred image while behaving differently in wear. Consider where weight sits, what touches skin, whether an edge could catch and how the piece interacts with clothing or neighbouring jewellery. A high ring setting offers a different profile from a low one; a pendant needs a bail opening that suits the intended chain; earrings need a fastening and post arrangement appropriate to their weight and orientation.
Ask direct questions about movement. Can a hinged part open through its full range? Does a chain pass through the bail without forcing the connector? Is there enough access for cleaning behind the stones? Could two adjacent surfaces rub? If a mechanism or joint is important, request both open and closed views and written confirmation of its intended range.
Manufacturing constraints are not defects in the design process; they are information that helps turn a concept into a durable object. The final model may need practical radii, supported joins, setting access or minimum sections that were not obvious in an early concept. Ask which changes were made for production and make sure they appear in the version you approve.
Write down finishes, engraving and decorative details
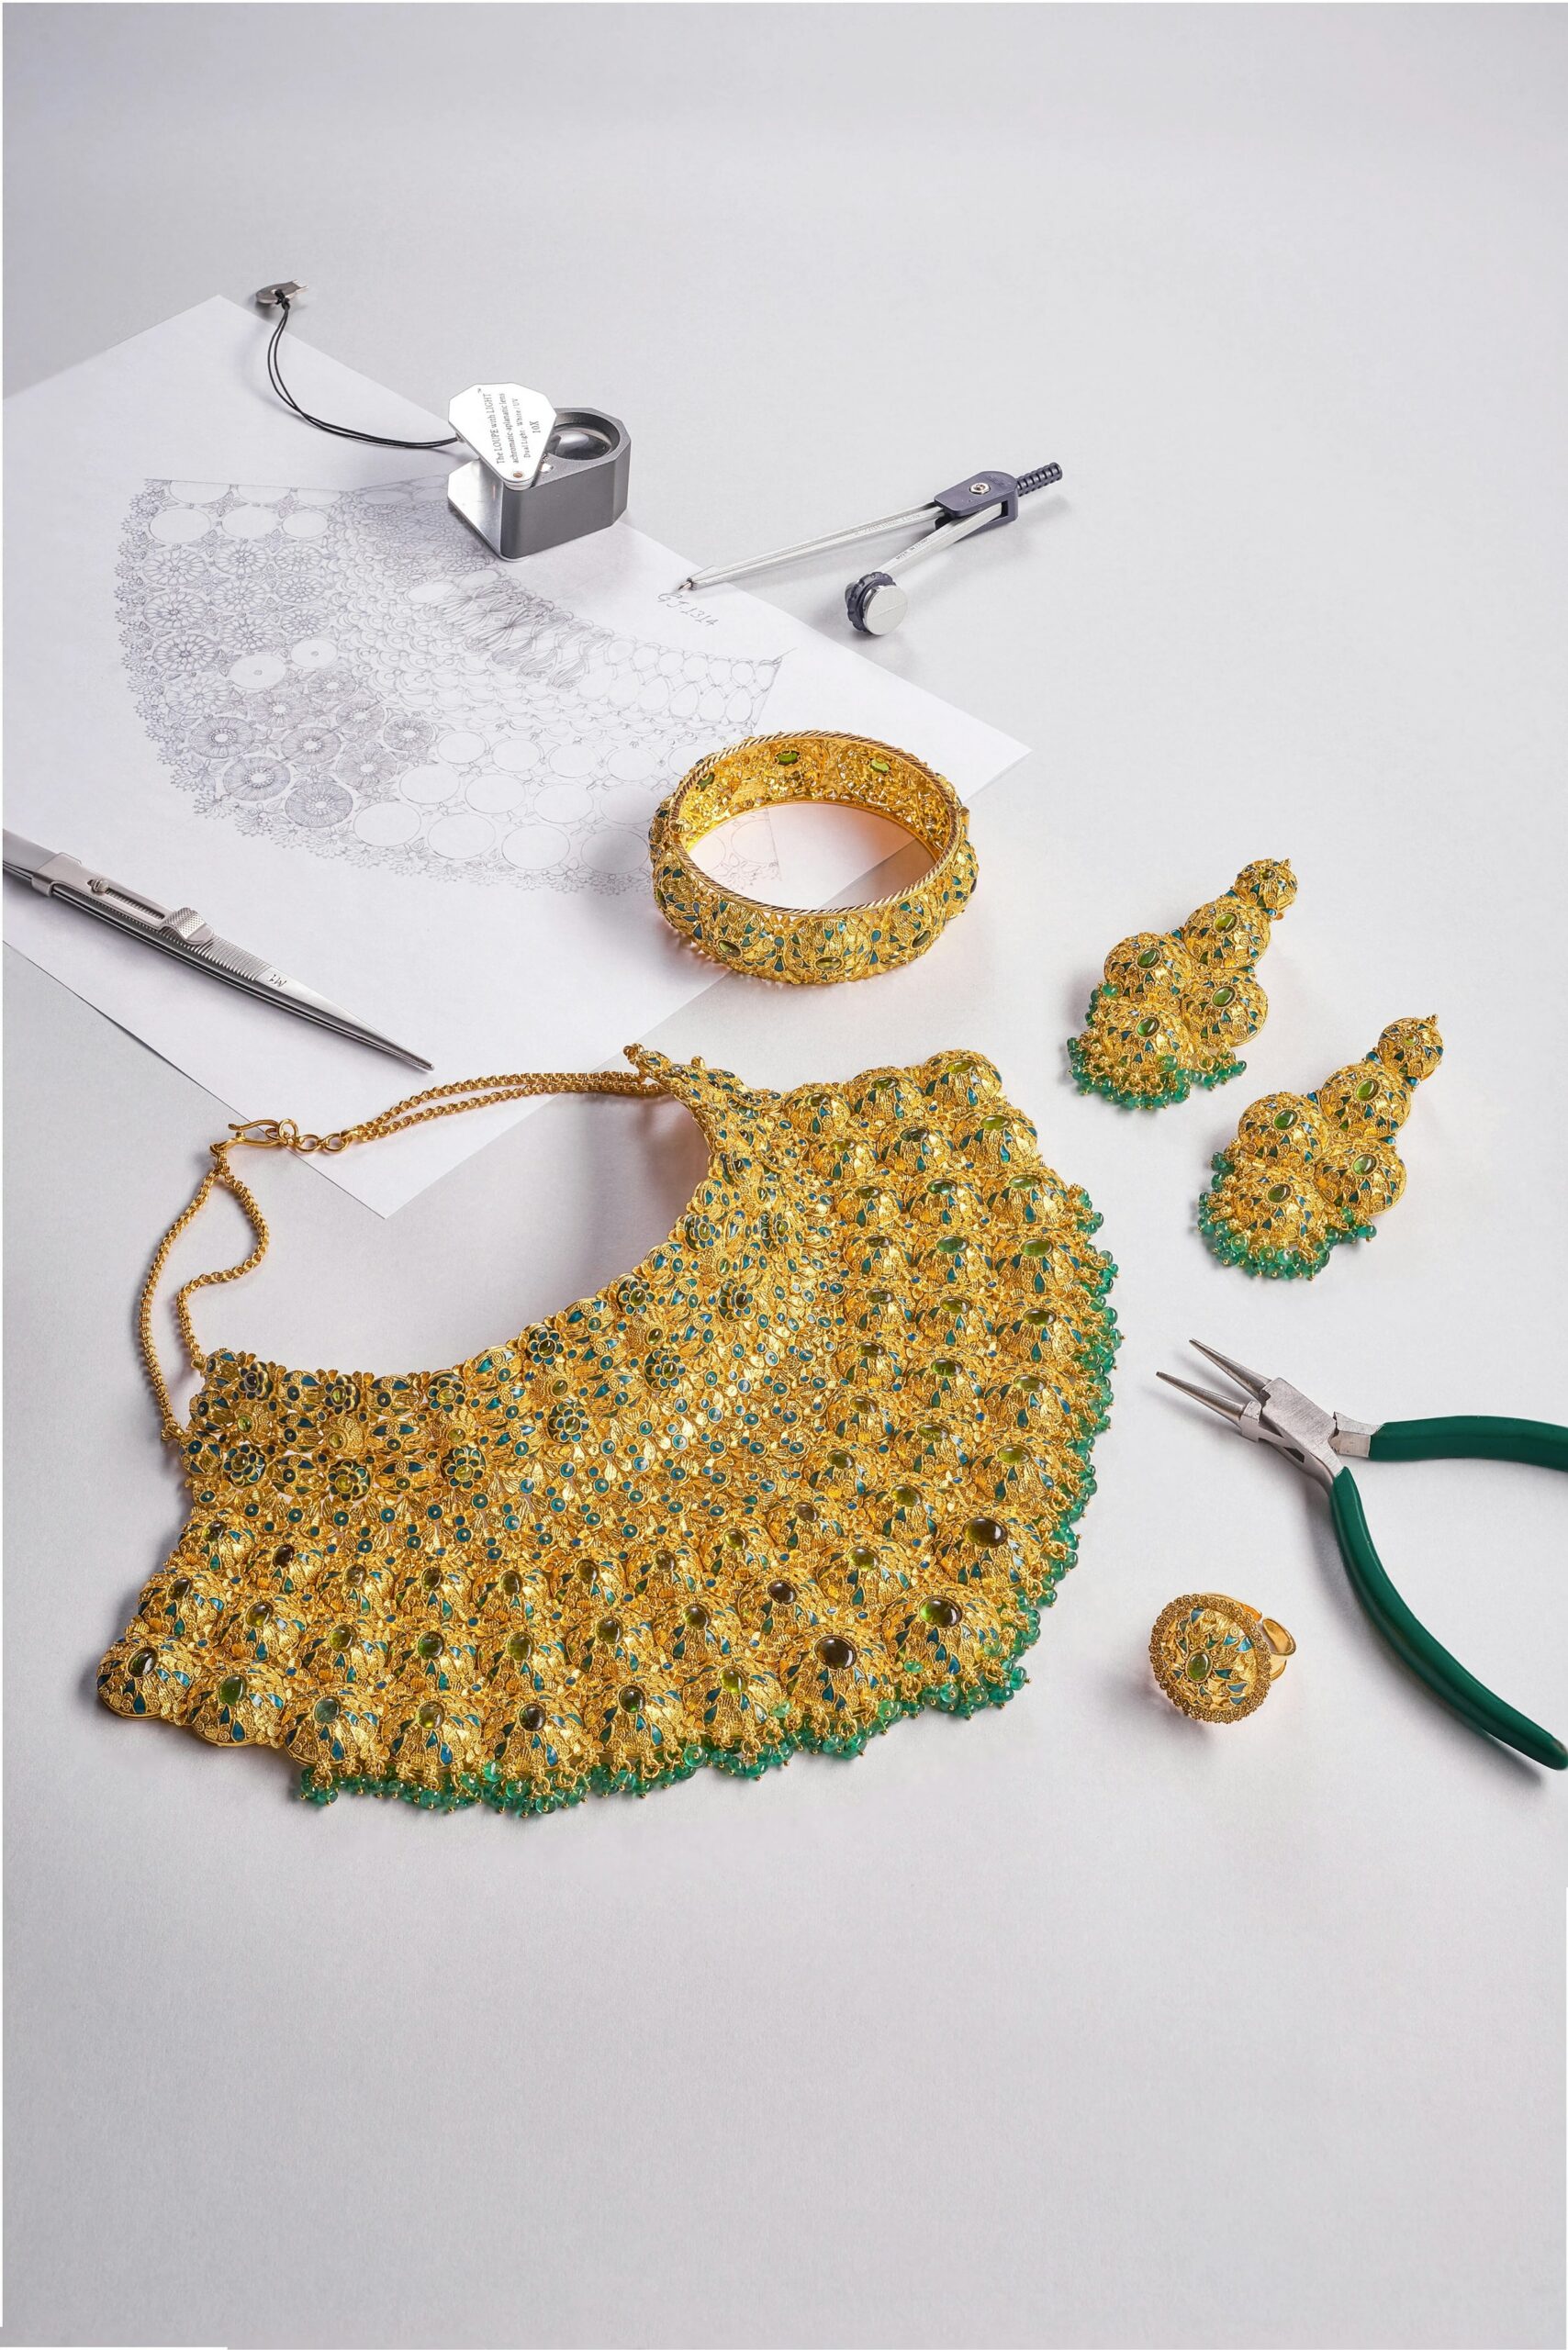
Colour on a screen is not a reliable metal sample. Record the metal type and fineness, any plating, and which surfaces should be polished, satin, brushed, hammered or otherwise treated. Laxmi’s wedding-ring finishes guide shows why finish names need a visual and practical context. If more than one finish appears, mark the boundary between them.
Engraving should include exact wording, spelling, capitalisation, symbol, type style, approximate scale and location. Confirm whether it is inside, outside or on an edge, and whether the available surface can hold it legibly. For repeated texture or ornamental borders, specify the pattern scale and stopping points. The guide to milgrain on rings explains why a beaded edge should be defined by placement and size, not by the single word alone.
- Mark every polished, satin, engraved, enamelled, plated or textured zone.
- Confirm whether modelled decoration will be refined or applied by hand after casting.
- State whether the design is symmetrical and identify any deliberate variation.
- Review initials, dates and symbols at normal physical size, not only enlarged on screen.
- Ask how future sizing, refinishing or repair may affect the selected detail.
A photorealistic image is not the finished jewellery
Rendering can help a client visualise proportion, layout and material choices before manufacture. GIA’s CAD/CAM programme explicitly includes photorealistic rendering as part of presenting jewellery concepts. The image remains a simulation: lighting, virtual camera, surface settings and enlargement influence how bright metal, transparent stones and small details appear.
GIA’s “Real or Rendered?” discussion demonstrates how convincing digital jewellery imagery can become. That realism is useful for communication, but it should not replace the specification. A render cannot guarantee the exact face-up colour of a gemstone, the behaviour of reflections in every room, a hand-finished edge or the microscopic appearance of stone setting. The final object also passes through casting or fabrication, assembly, setting and finishing, each of which involves skilled judgement.
A practical jewellery CAD sign-off checklist
- Name the final revision. Record the project, date or version number and the complete set of views being approved.
- Match the written brief. Confirm jewellery type, metal, fineness, stone list, quantity and supplied components.
- Check physical dimensions. Read overall size, key sections, height, openings and wearable fit at real scale.
- Inspect every angle. Review top, profile, back or underside and close views of settings, joints, fastenings and hidden areas.
- Confirm construction. Ask about prongs, bezels, galleries, hinges, bails, clasps, joints and any production-driven changes.
- Mark surface details. Specify finish boundaries, engraving, texture, milgrain, enamel and intentional asymmetry.
- Resolve every comment. Keep written answers and do not treat an unanswered question as implicitly accepted.
- Save the approval package. Retain the final images or PDF, specification, correspondence and approval wording together.
If a major dimension, stone or construction detail changes after approval, request an updated record rather than approving the change through an informal description alone. Laxmi Jewellers’ bespoke design service can help organise the design, material and finishing choices into one reviewable brief.
Jewellery CAD approval FAQ
What does CAD approval mean for custom jewellery?
It means authorising an identified digital design and its supporting specification to move to the next production stage. The exact scope should be stated by the workshop; approval should not be assumed to cover unlabelled images or later changes.
Is one photorealistic render enough to approve a design?
Usually not. One view can hide the back, underside, profile, clearances and connections. Ask for the views and labelled measurements needed to understand the complete object.
Should a CAD render look exactly like the finished jewellery?
No. It can communicate design intent convincingly, but virtual lighting, magnification and material settings affect appearance. Hand finishing, stone setting and the behaviour of the actual materials also influence the final result.
Which dimensions matter most before sign-off?
Confirm the overall envelope and every measurement that affects fit, durability or assembly: ring size, width, height, key metal sections, stone dimensions, bail or clasp openings, clearances and the relationship to adjacent jewellery.
Can a jeweller change the CAD after I approve it?
Production may reveal a necessary adjustment, but the communication process should be agreed in advance. Ask which changes require renewed approval and request an updated version when a material dimension or visible feature changes.
How should I approve engraving or milgrain?
Record the exact wording or pattern, location, scale, orientation, type style and stopping points. Review it at realistic size and confirm how it will be produced and finished.
What should I keep after CAD approval?
Keep the final dated images or PDF, version identifier, written dimensions, material and stone specification, resolved comments and the message that clearly authorises production.
Sources used for this guide
- GIA: Jewelry Design & Technology diploma and CAD/CAM curriculum
- GIA: Real or Rendered?
- GIA: Quality Assurance Benchmarks introduction
- Stuller: Ways to make custom jewellery designs easier to visualise
Sources and the Pexels and Unsplash licence pages were checked on 2 November 2026. CAD formats, approval stages and workshop tolerances vary, so confirm the process and production limits for the exact commission.
Turn the design into one clear approval record
Compare the final views with dimensions, stones, construction and finishes, then identify the exact revision you are authorising.
